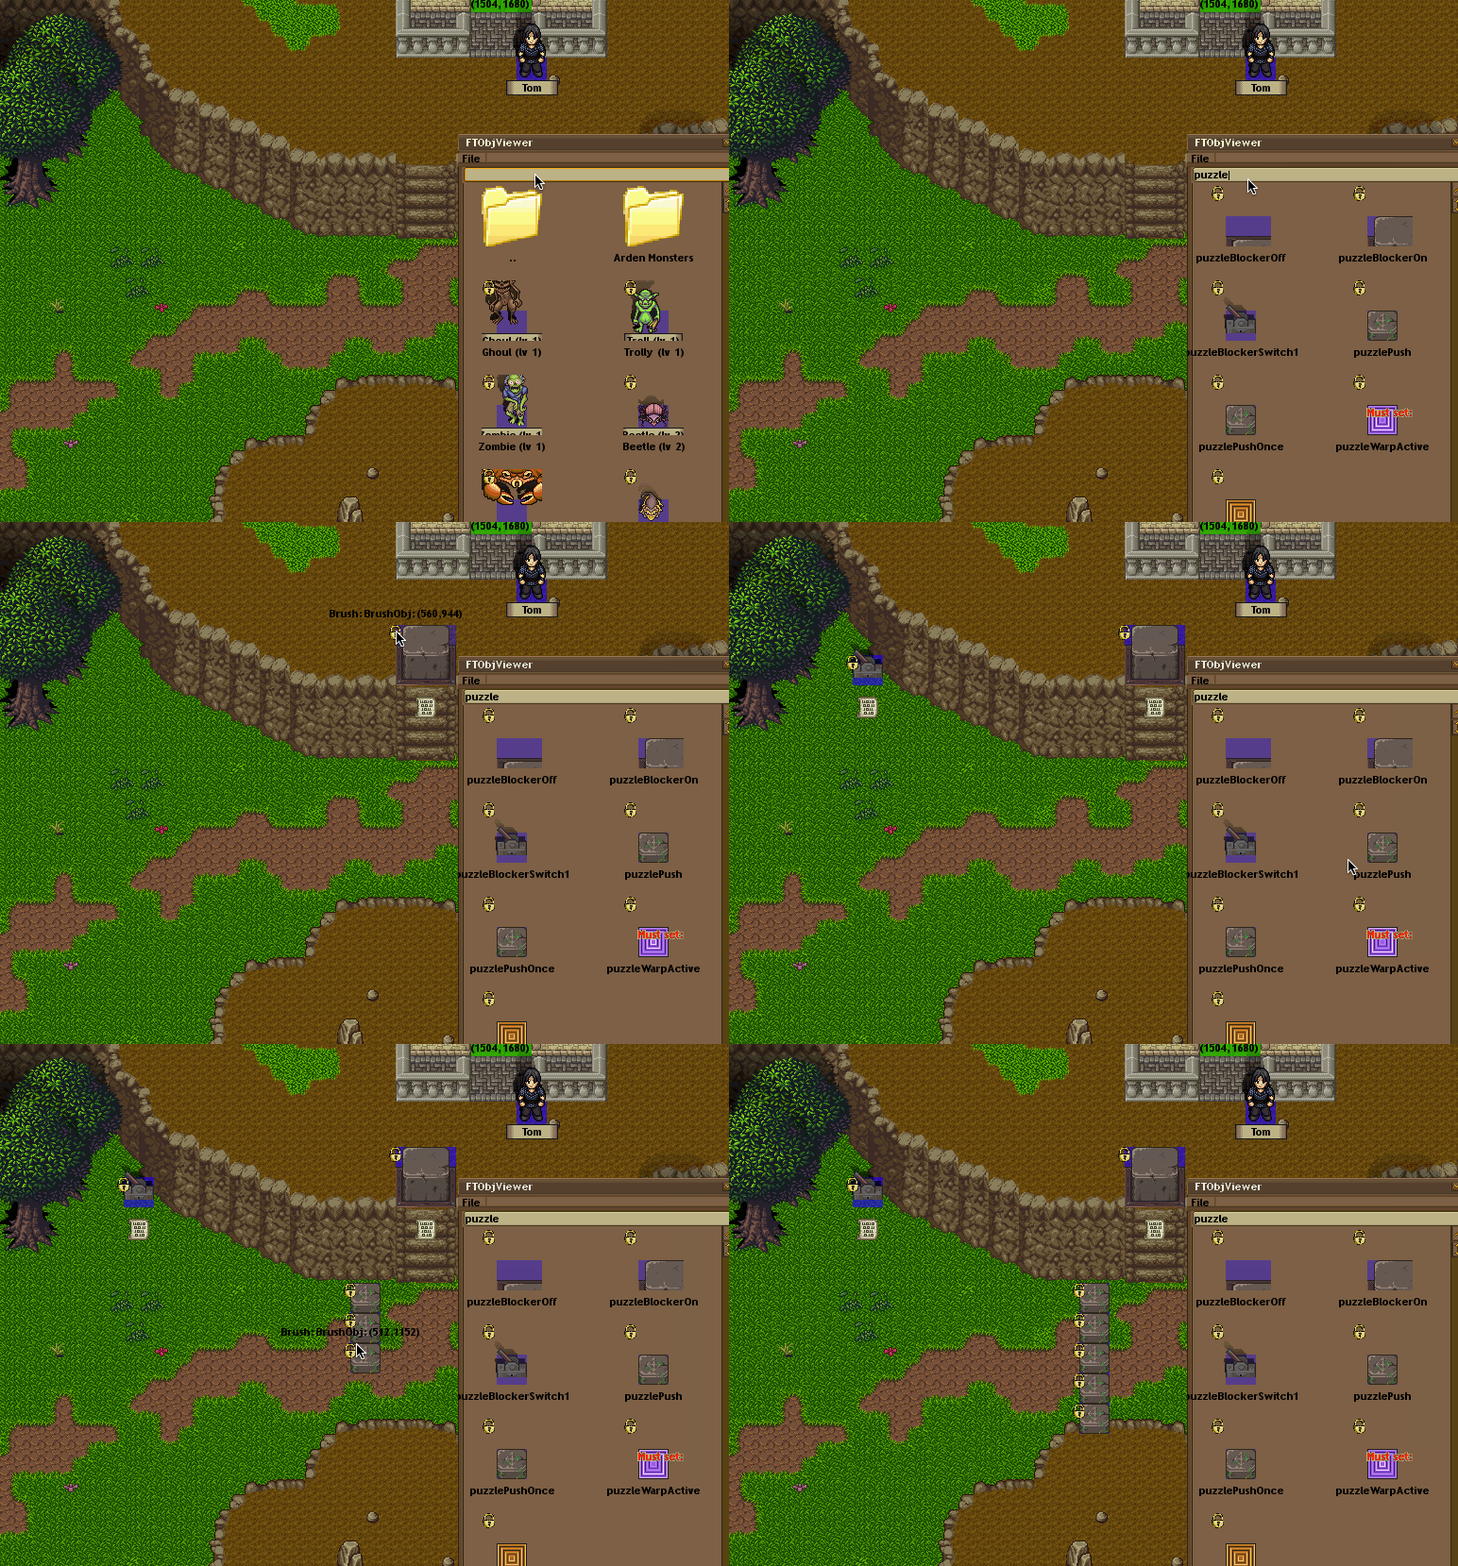
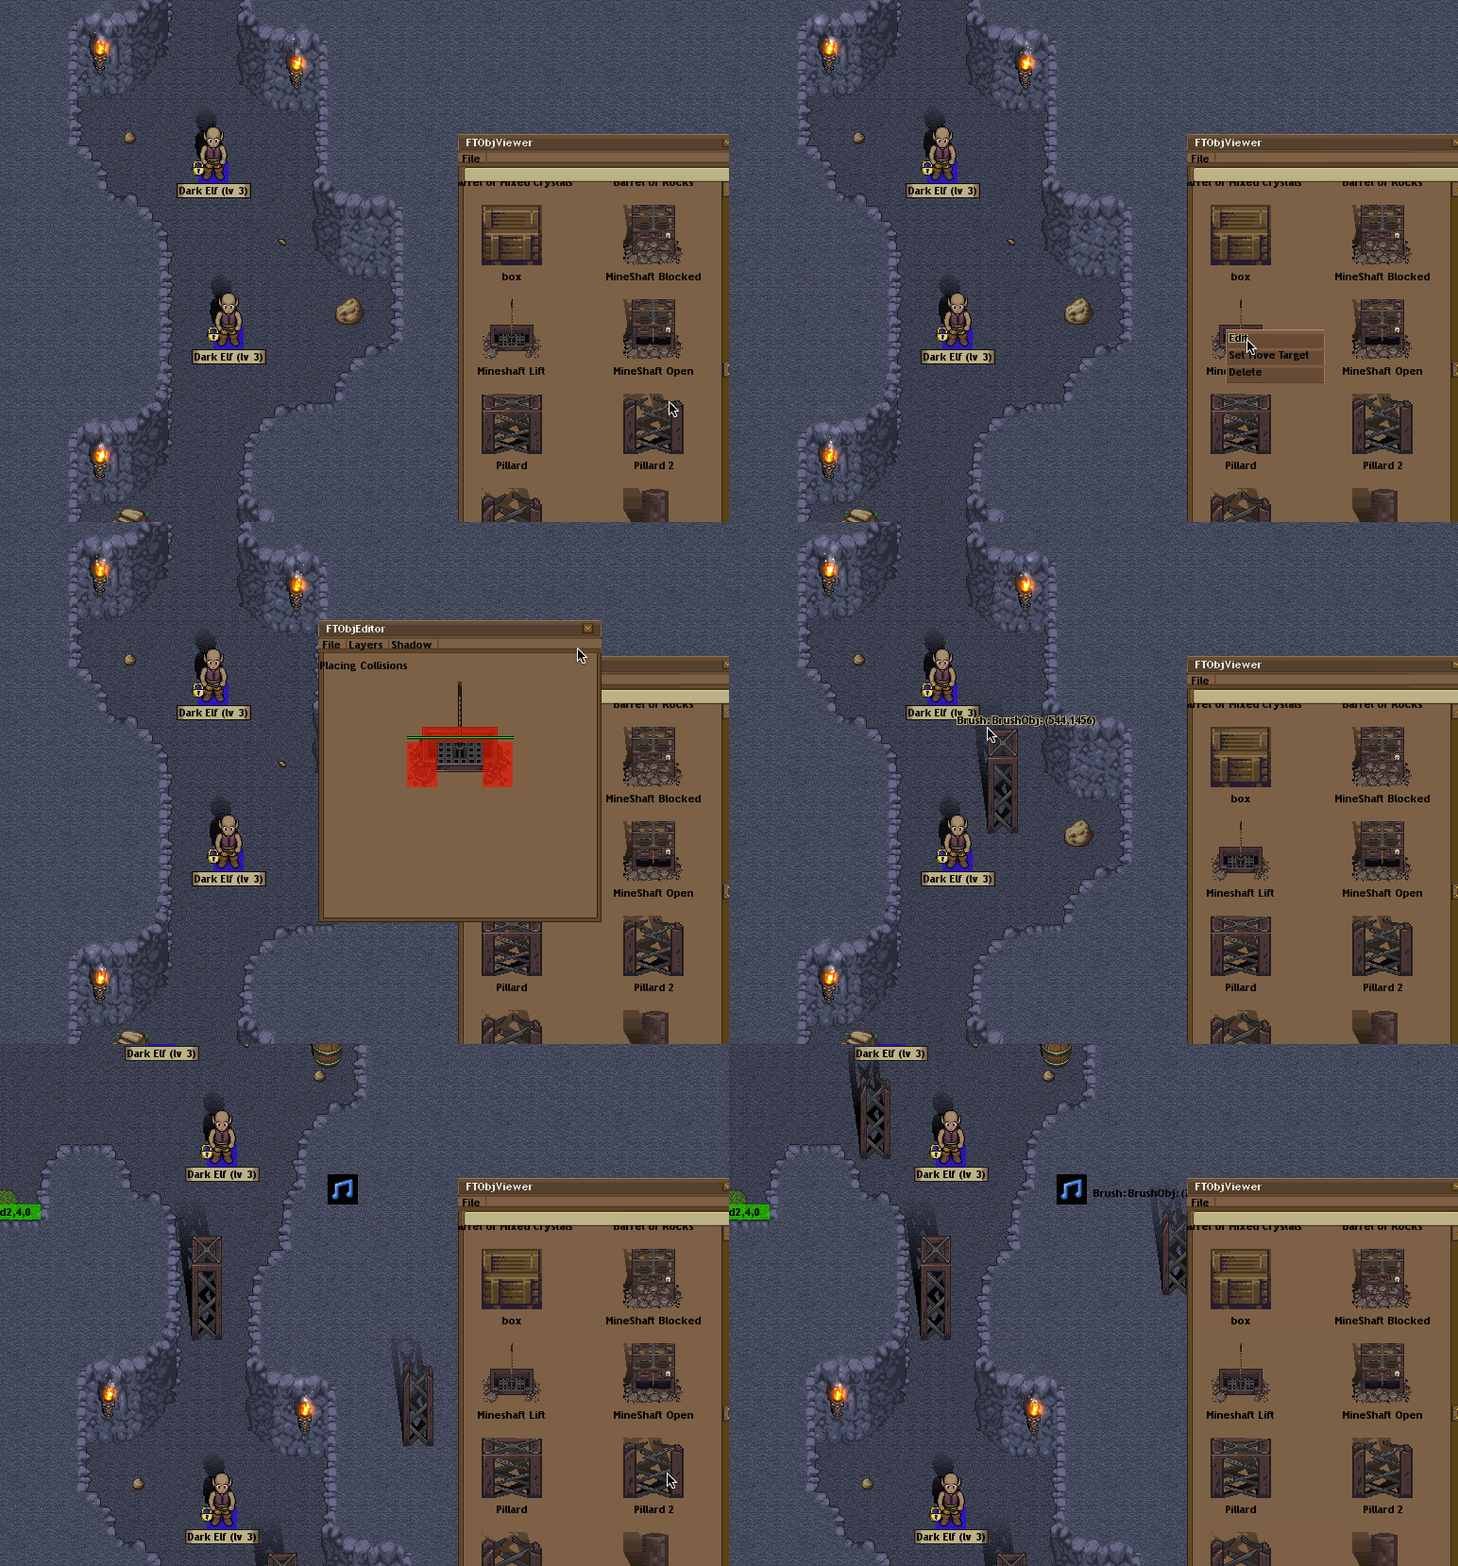
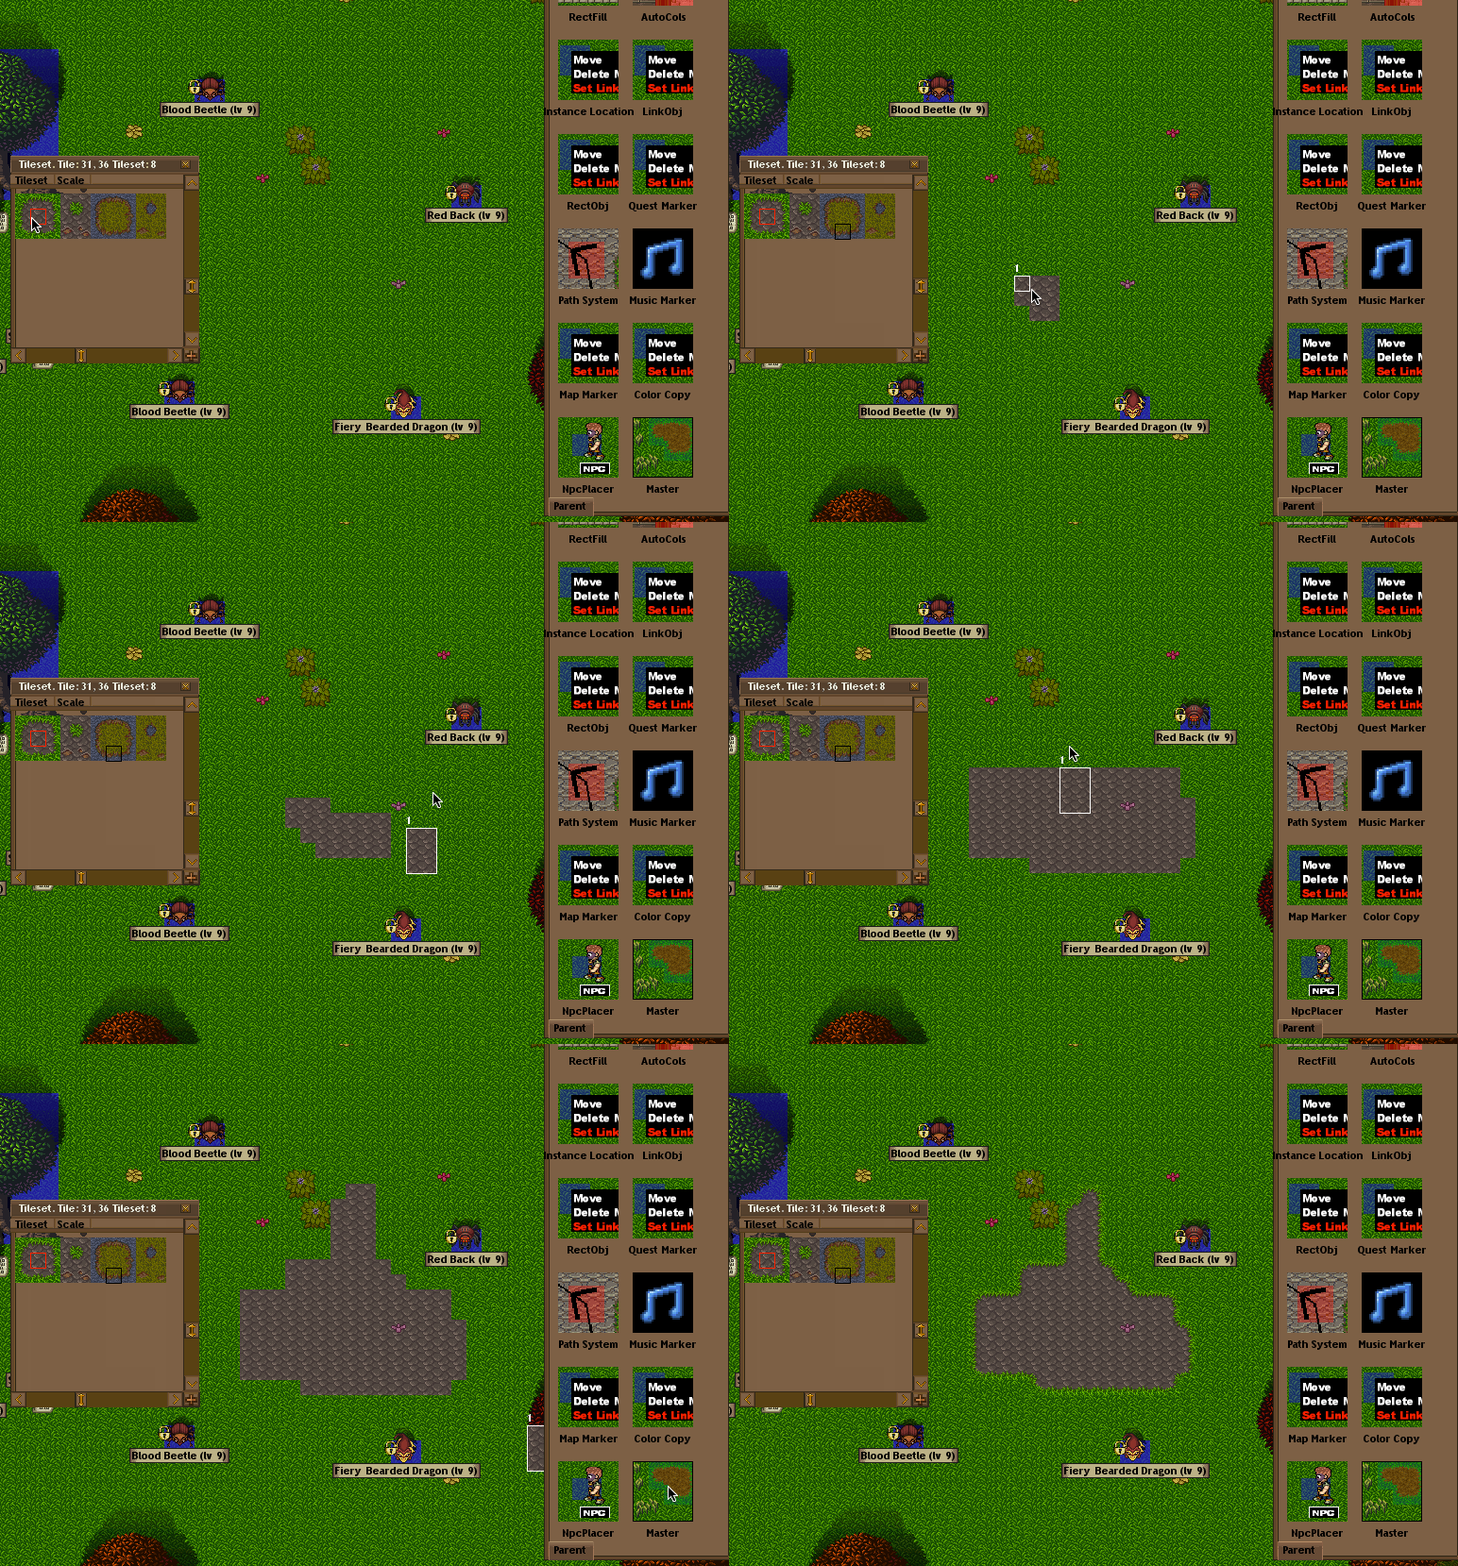
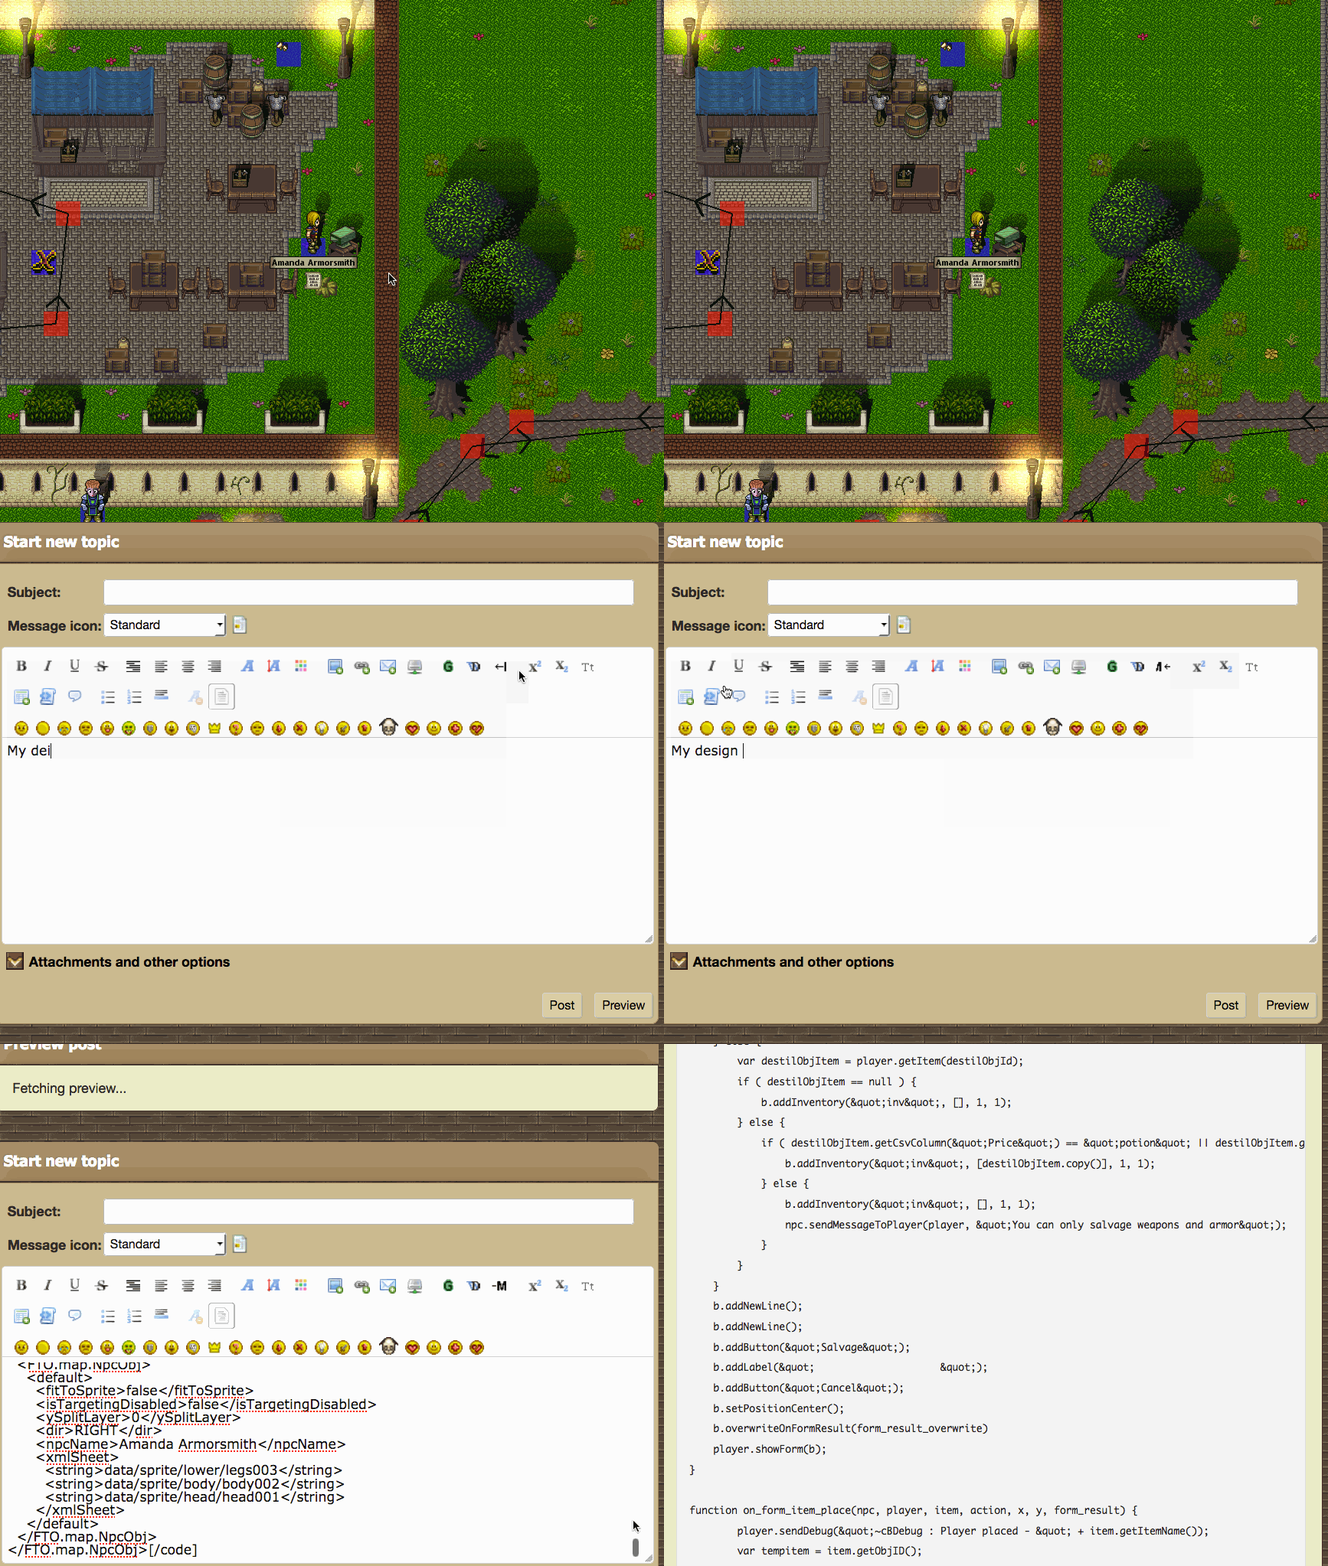
The FTO Map editor tool is a full fledged MMORPG builder. It support editing entire regions at a time, editing scripts, creating re-usable puzzles and objects and many more feature.
Setting up
1. Download & run the map editor for your platform:
- Windows: https://s3-us-west-2.amazonaws.com/ftoreleases/releases/live/trunk/client/FTOEditor.exe
- Mac OSX: https://s3-us-west-2.amazonaws.com/ftoreleases/releases/live/trunk/client/FTOEditor.dmg
2. If it's your first time simply accept the default World Repository. This will give you read-only access. We will cover how to create an account later.
3. Open one of the demo regions included in the default World Repository. File Menu -> Load Region. Pick any 'region', feel free to switch between them to explore them.
4. When you're ready to make changes refer to Setting up your World Repo. But now you can skip this to get a feel for the editor.
Controls
Here's a list of the most important control for the editor. Being familiar with them will help you use the editor more efficiently.
- Ctrl+Right click and Drag to pan around the editor.
- Use WASD to move around when the map is focused.
- Left click to place tiles and object
- Right-click drag to select an existing block of tiles and to edit objects via their context menu. Hold Shift to select tiles from both layers, otherwise it will only select tiles from the current sub tile layers.
- Use (shift+) TAB to cycle which map layer you're editing (see section on the map layers).
- Use the '1' and '2' key to change which sub tile layers you're placing on. Ground tile layers by default have 2 sub tile layers.
- Use the mouse wheel to change zoom level.
- Use numpad +/- or Shift+mouse wheel to change the Z level. Negative Z level are underground levels and positive Z levels are typically in-door level are extra out door levels. For ease of navigation indoor and outdoor levels are kept at the same x, y so that they can be located simply by cycling through the map z level.
- Use 'z' to undo and 'x' to redo.
- Ctrl+C to copy the current tile to the clipboard. Ctrl+V to paste them. Note that everything is copied in text format. Please share your interesting creation to the forums!
Saving & Version control
- You must have setup your own world repo server before you can commit.
Use the `/~ (console) key to toggle the versioning overlay. This will allow you to save and publish changes made to a map or revert the restore from the last published changes. Maps that have had modified tiles will show up with a yellow modification warning labels.
Right-click on the map that you would like to commit (publish) changes to your repo server. A dialog box will appear asking for a description (commit message) of your changes. This will show up in the change history in your world repo but is entirely optional. Descriptive messages like 'Added new quest NAME for the second town banker' will make it easier when working with others.
Once you have committed you can dismiss the overlay the hitting the `/~ key again. You wont be able to edit the maps with the overlay active.
- Warning: The yellow notification wont appear for all changes like object changes. Don't forget to commit changes to these maps as well.
Preview
Once you have committed your changes you test your changes using a world preview server. From the file menu select 'File'->'Preview Region'. The Region (World) Preview window will appear. It will list public servers that you can use for 15 minutes to test your changes. You can use any server that is listed as 'READY'. Let us know in the forums if you have any issues with the capacity of these servers.
When you connect to the server a new 'Server Console' console will appear. This console will display the output of server and will be useful for tracking script errors that occur while running your region. You will have to wait until you see a line similar to 'Active servers: Epidote' before you can fully log-in. During this time the server will access your region server using the credential you have provided. If you created a world server using gitlab there shouldn't be any issues, otherwise you will have to make sure that the server is able to access the GIT server with the information you provided.
While playing you will have access to the Game Master/Admin mode. This will let you change your level, ignore collision, warp to locations, modify scripts and many more commands.
Once you're done simply disconnect from the server and it will recycle itself automatically for re-use.
Map Layers
Each map has by default 3 layers. A ground tile layer (with 2 sub tile layers), an object layer to hold characters and objects and a floating tile layers that will be drawn above. Objects in the object layers are sorted and drawn by y position. More complicated maps may add extra tile layers for complex terrain. Maps may also add 'tagged' layers that are only used to create a variation of a map for quests and instances.
Use the 'Lv Tools' to manipulate and select the which layer you'd like to edit. This will change your place mode between tiling and object and will target the correct map layers.
Tiling
Make sure that the editor is in 'Placing Mode: Tile Array' in the top middle and that you've selected the tile layer you'd like to edit. You may select existing tile by selecting a block of tiles on a map using a right-click drag. This will copy the current sub tile layers. If you hold shift during a copy it will copy both sub tiles layers. Use '1' and '2' to select which sub tile layers you'd like to work on. You can select tiles in the 'Tileset' menu. Additional tilesets can be found in 'Tileset' menu. You can use the WASD keys to navigate in the tileset view. By selecting tiles the 'Tileset' window will automatically find and focus those tiles in the view. Use 'z' and 'x' to undo/redo changes.
Large external tiling demo gifv
Objects
Objects can be either both client and server-side which means the objects can be interacted with and their state and synchronized between the players. Or they can be just tile group and be strictly client-side and optionally restrict movement. Tile group in object layers will be sorted with other objects and thus will allow you to create objects that players move behind and in front.
Most of these objects can be access via the FTObjViewer. They can be organized by folders. The top text field can be used to quickly search for an object by name. They can be manipulated using the right click context menu.
TileGroup & FTObj Objects (client-side)
These types of objects are useful to create reusable tile objects. They are often used for static objects like trees, torches, armor stands etc... They consume no server side resources so they can be used as much as required without any server load.
These objects can be created via the FTObjViewer window context menu. TileGroup are the simpliest will be created from the currently select tiles. FTObj are more complicated and will bring up a new window to edit them.
Npc Object (server-side)
Npc are server side objects that are tracked and synchronized by the server. They can be created using the 'NpcPlacer' brush from the 'Brushes' window, copied from an existing object in the FTObjViewer window or copy directly from another Npc object in the map. They can be customized using their context menu by right clicking on them.
Npc Modules
A Npc object's behavior is controlled via its selected module. It has customizable modules that can be used to control their movement, battle, script, quest, and chat/shop behavior. Edit these modules to suit your needs. For more details on scripting see the scripting page.
Brushes
You can find many helpful brushes in the 'Brushes' window.
LinkObj
The LinkObj brush (under Tools) allows you to place map links. Select the brush and draw a link over the map area you would like to link to another map. Then right click and set 'Update link'. Once a link is properly set you can click on a map link to jump to its destination.
NpcPlacer
See the obj section above for more details.
RectObj
This brush is used to create a location based script trigger. For more details see the scripting page [Map_Editor/Scripting#Object_visibility_based_on_quest_status http://fantasytalesonline.gamepedia.com/Map_Editor/Scripting#Object_visibility_based_on_quest_status].
Master (Correction brush)
This brush will automatically apply tile correction to certain groups of tile, like stone and grass paths, within a contiguous block of tiles. This automates a lot of tedious tiling.
Sharing an object
You may share an object simply by hitting 'Copy', or a group of tile by using CTRL+C, and then sending this as text.
Releasing your Server
If your aim is not to design a 3rd party server you may skip this section.
To submit your server you will have to contact the staff and request that your server be added to the 3rd party list. Your server will need to meet the criteria listed below before we can add it to the list of 3rd party servers. You will need to provide anonymous read access to your world server. You will have to agree to license anything that you've created so that we may use it. Once that's done we will take a release snapshot (git fork) of your world server. You may continue to develop your server. When you're ready to push another update to your 3rd party server.
Criteria for 3rd party servers:
- The server must not have any objectionable material including adult content, bad language.
- The server must feature unique content. We will not host simple server copies.
- The server must meet a minimum quality standard and be enjoyable for the players in the community as judged by the reviewing staff. Feel free to inquiry in the forums if you'd like to have the staff review your server early and engage the community by posting updates.
- You must agree to license the content you created.
Hosting
Since we, as of writing this, not release the server binaries we will provide hosting for any servers that meet the guidelines above and offer to provide dedicated testing servers for anyone doing heavy development. We will provide this hosting for free as long as these servers don't make unreasonable use of resources such as inefficiently tie the CPU/RAM/Network of the VPS.
For now any 3rd party servers will be accessible by everyone but as the game grows 3rd party servers will be offered as a premiere feature accessible only by registered members. This is to offset the development and hosting costs. In exchange we wont charge any hosting fees.
Creating your own standalone MMO
Currently the editor doesn't support creating your own standalone game as it's missing too many features we cannot work on at the moment. In the future we're considering creating a standalone MMORPG Builder tool but right now we're focusing on the primary game and using the editor to gauge the interest.


